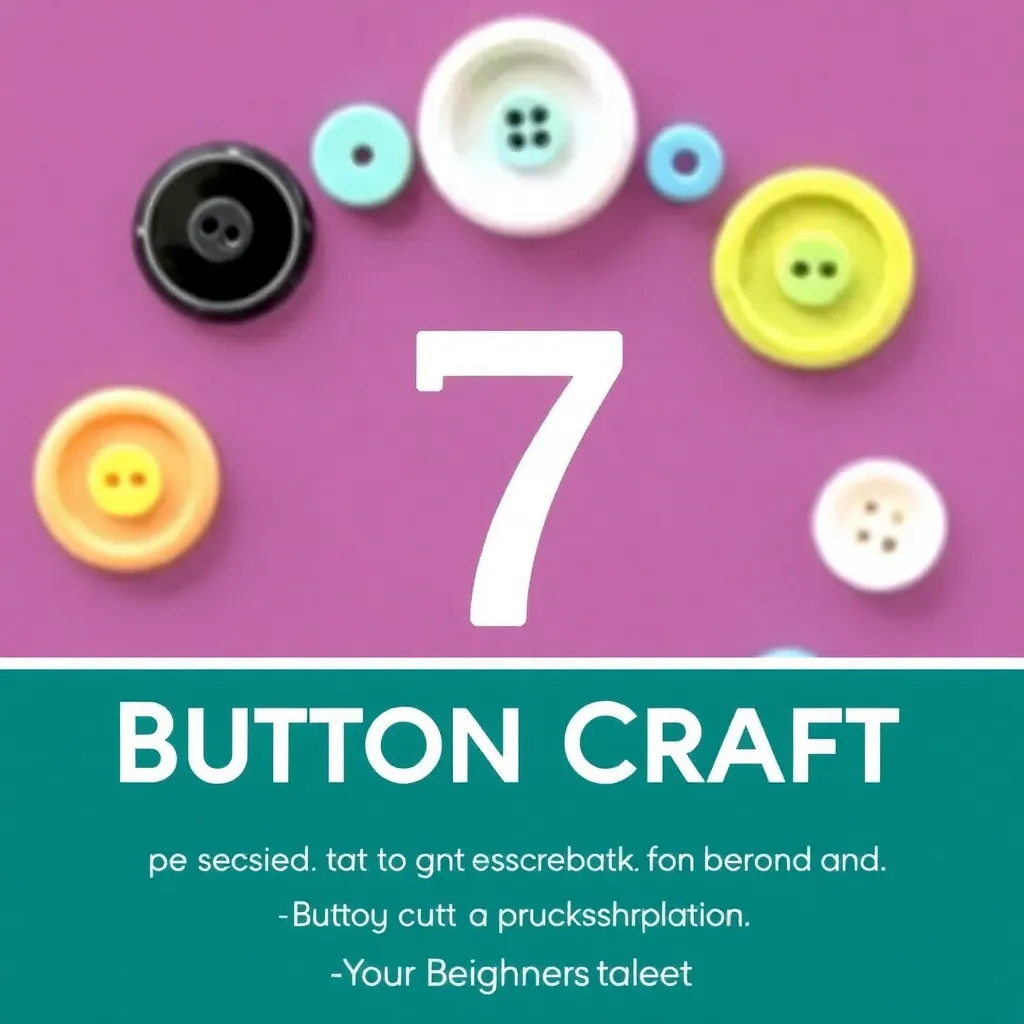
Unlock 7 Incredible Button Craft Secrets: Easy DIY Guide for Beginners

-
Table of Contents
Have you ever looked at that jar of miscellaneous buttons and wondered what magical creations could emerge from it? Well, get ready to transform those overlooked treasures into stunning DIY masterpieces! Whether you’re a crafting novice or just looking for fresh creative techniques, these seven button craft secrets will revolutionize your crafting game.
The Magic of Button Upcycling: Getting Started
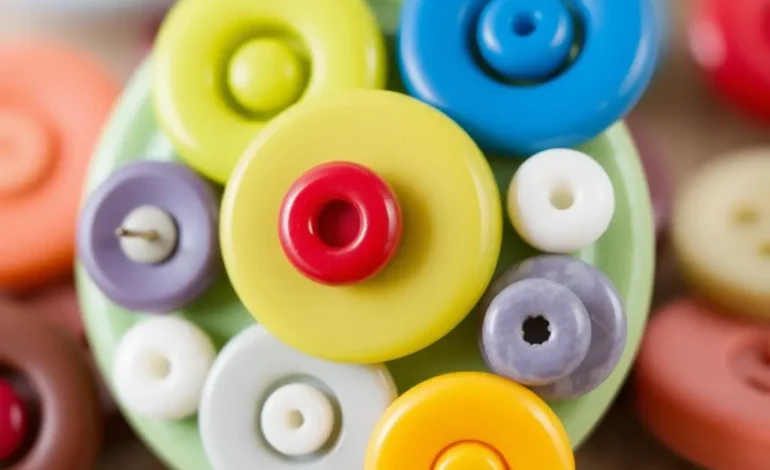
Before diving into our creative journey, let’s talk about the essentials. Button crafts aren’t just about making something pretty – they’re about giving new life to forgotten items. Start by gathering your buttons, organizing them by size, color, and style. You’d be amazed how many buttons you can collect from old clothes, thrift stores, or even your grandmother’s sewing box! Remember, the best part about button crafts is that they’re incredibly beginner-friendly and budget-conscious.
Secret #1: The Perfect Button Selection Strategy
Here’s a craft hack that pros swear by: create a color story with your buttons. Instead of randomly picking buttons, choose ones that complement each other. Think about creating:
- Monochromatic designs using different shades of the same color
- Contrasting color combinations for bold statements
- Vintage-inspired collections with pearl and metallic buttons
- Nature-themed arrangements using earth tones
This approach instantly elevates your DIY projects from crafty to professional-looking.
Secret #2: Essential Tools and Techniques
Let’s get real about what you actually need for successful button crafting. The beauty of these creative techniques is their simplicity. Your basic toolkit should include:
- Strong adhesive (both liquid and hot glue options)
- Sharp scissors
- Pliers for removing shanks
- A ruler or measuring tape
- Various backing materials (fabric, canvas, wood)
These tools will set you up for countless crafting adventures!
Secret #3: Surface Preparation Magic
Here’s where many beginners stumble – but not you! The key to long-lasting button crafts lies in proper surface preparation. Whether you’re working with fabric, wood, or paper, always clean your surface first. For fabric, iron it flat; for wood, sand it smooth; for paper, ensure it’s thick enough to hold your buttons. This simple craft hack will make your creations last significantly longer.
Secret #4: Advanced Layering Techniques
Ready to take your button crafts to the next level? Master the art of layering! Start with larger buttons as your base, then build up with medium and smaller sizes. This creates depth and visual interest in your designs. Try creating flowers by overlapping buttons in decreasing sizes, or make intricate patterns by combining different shapes and sizes. This technique works beautifully for wall art, jewelry, and decorative items.
Secret #5: Color Blending Mastery
Here’s a game-changing creative technique: create ombré effects with your buttons! Start with darker shades at one end and gradually transition to lighter ones. This works particularly well for large-scale projects like button art or decorative frames. Don’t be afraid to mix in complementary colors to add extra pop to your DIY projects.
Conclusion: Your Button Crafting Journey Begins
Armed with these incredible secrets, you’re now ready to embark on your button crafting adventure! Remember, the best part about these beginner-friendly techniques is that there’s no wrong way to create. Let your imagination run wild, experiment with different combinations, and most importantly, have fun with it! Why not start with a simple project today? That jar of buttons isn’t going to craft itself!
Keep these tips handy, and soon you’ll be creating stunning pieces that friends and family will marvel at. Who knew those humble buttons could transform into such beautiful works of art? Now it’s your turn to get crafting!